

I’ve been using SendGrid as the transactional email provider for my site for a while. Since I only send about three emails a week—mostly simple contact form submissions—the free tier was perfect for my needs. It let me test things out, integrated easily with Drupal, and just worked.
But recently, SendGrid discontinued their free plan and converted users to a 60-day trial which ended at the end of July. Once my trial expired, email on my site silently stopped working. I wouldn’t have even noticed if it weren’t for a message from Chris Wells (chrisfromredfin)—shoutout to him for the heads-up and setting me on the path to fix it!
Exploring Alternatives
I started exploring other transactional email providers and landed on Mailgun. They have a free tier, and—bonus—they have a Drupal module.
Here’s how I set it up.
Step 1: Create a Mailgun Account and Verify Your Domain
First, I created an account on the Mailgun sign up form.
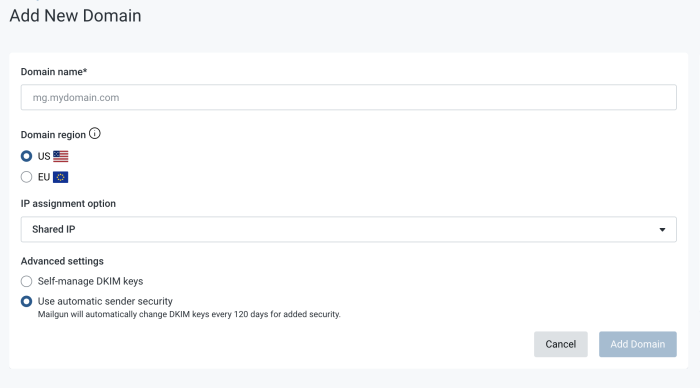
Then, I had to configure my domain. This part requires access to your DNS settings, so make sure you have that handy. Mailgun provides solid documentation on domain verification, but here’s the quick version:
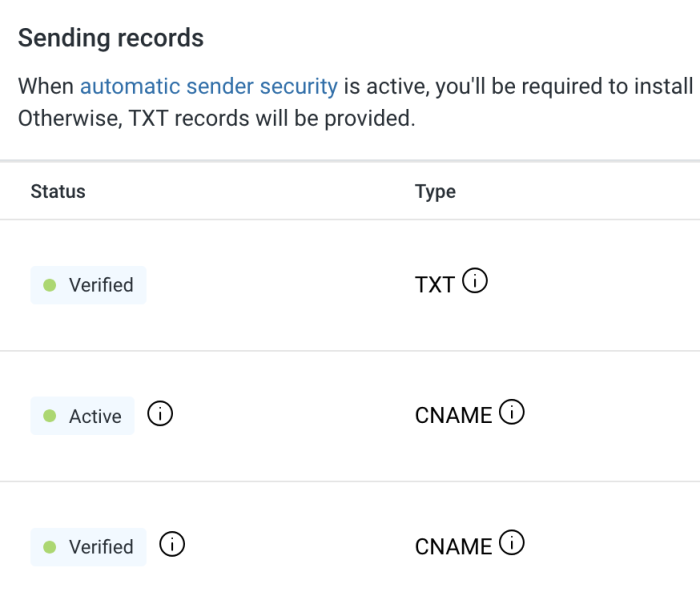
- I added 1 TXT record and 2 CNAME records to my domain’s DNS.
- I selected the "Automatic sender security" option when adding the domain, which rotates DKIM keys—hence the extra CNAMEs.
Once everything propagated and was verified in the Mailgun dashboard, I moved on to the Drupal setup.
Step 2: Set Up Drupal with Mailgun
I pulled my site down locally using DDEV to make changes in a safe environment.
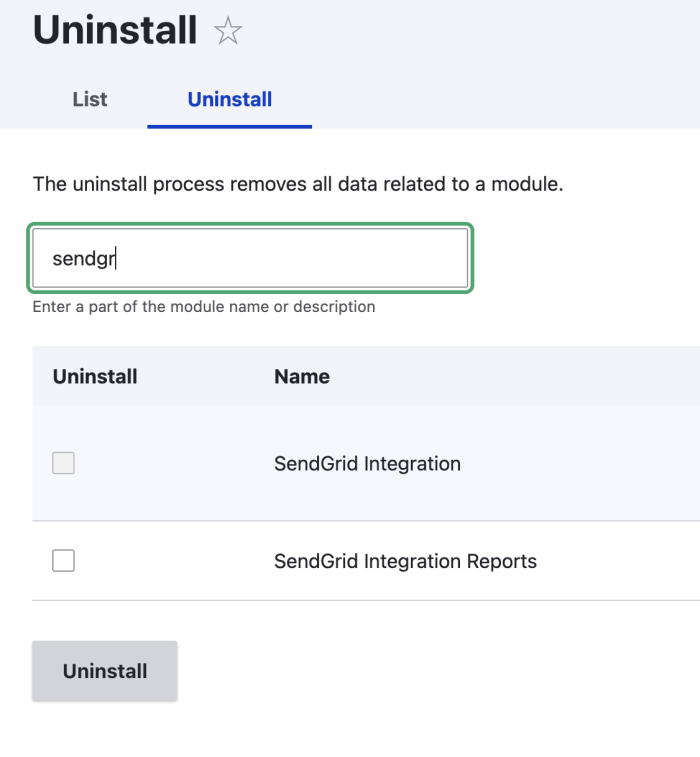
First, I disabled the SendGrid modules, but didn’t remove the code right away. I prefer to remove the code in a separate set of commits to avoid issues that can arise when the module code isn’t present during the disable process.
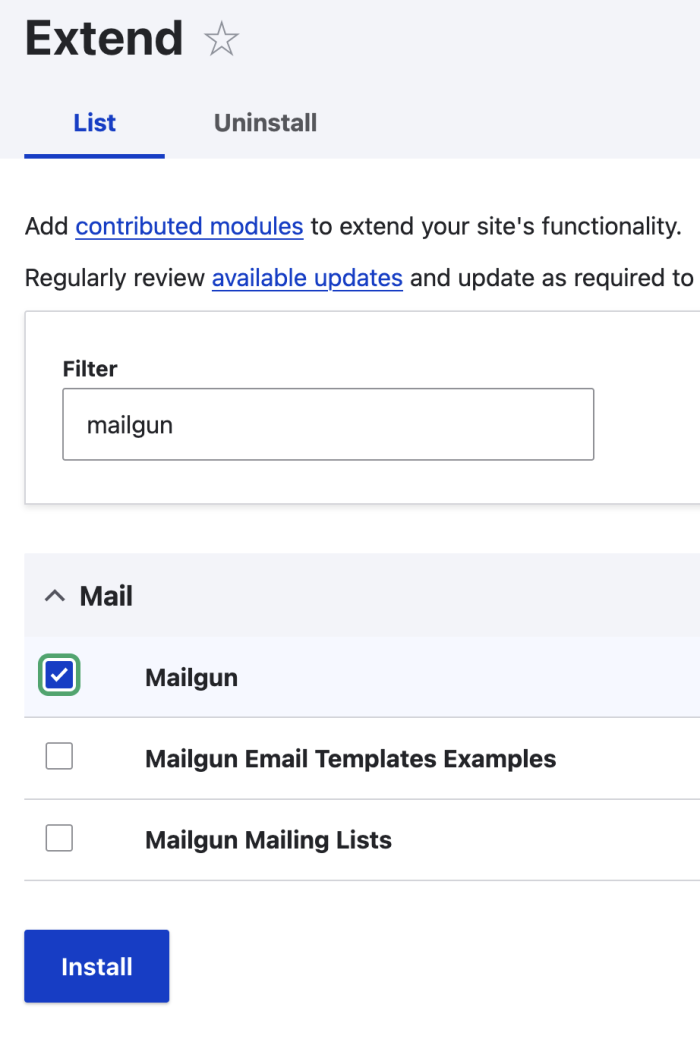
After committing those config changes, I moved on to install the Mailgun module:
ddev composer require drupal/mailgunThen I enabled the module (just the main Mailgun module—not the submodules, which are for other advanced features I don’t need right now).
Step 3: Connect Drupal to Mailgun
Next, I went back to the Mailgun dashboard to grab my API key:
It’s under your account settings in the upper-right corner, under “API Security.”
Image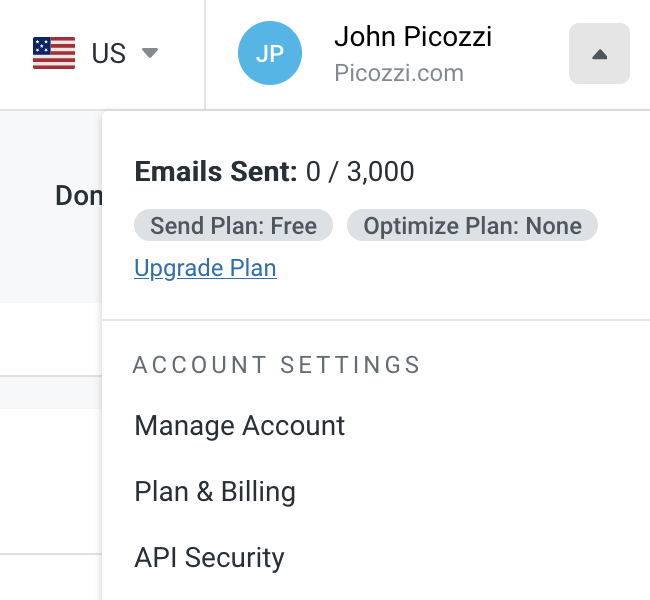
Click the "Add new key" button on the API Security page and type in a short description. Reminder: The key displayed on the next screen will only be displayed once. Be sure to copy it someplace safe if not following the next step right away.
Image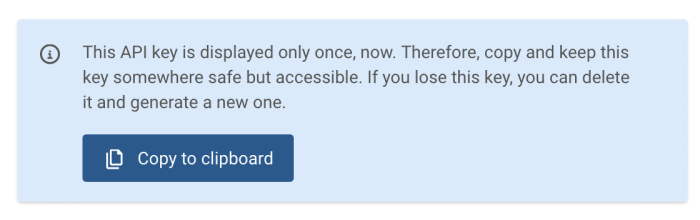
Paste the key into Drupal’s Mailgun settings page (there’s even a few helpful link in the module UI).
Image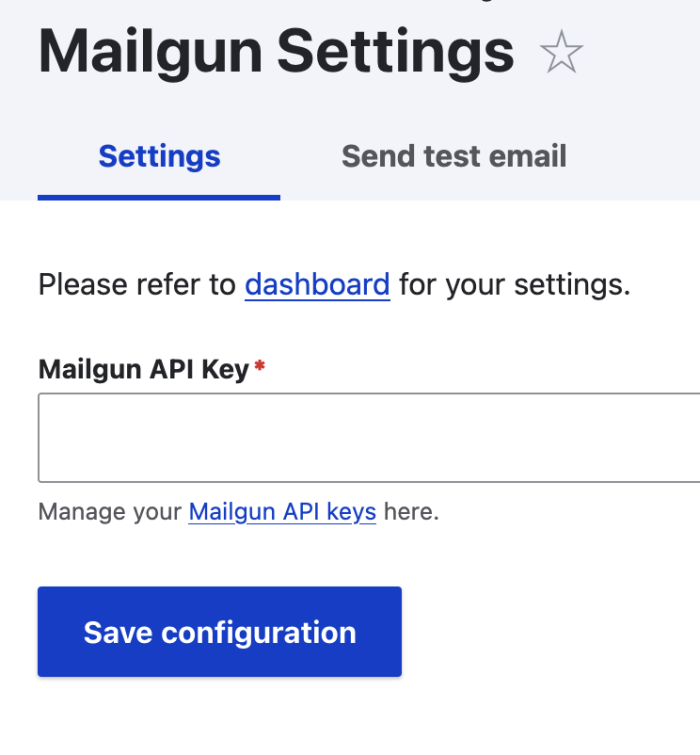
After saving, you’ll see options to select your domain and region.
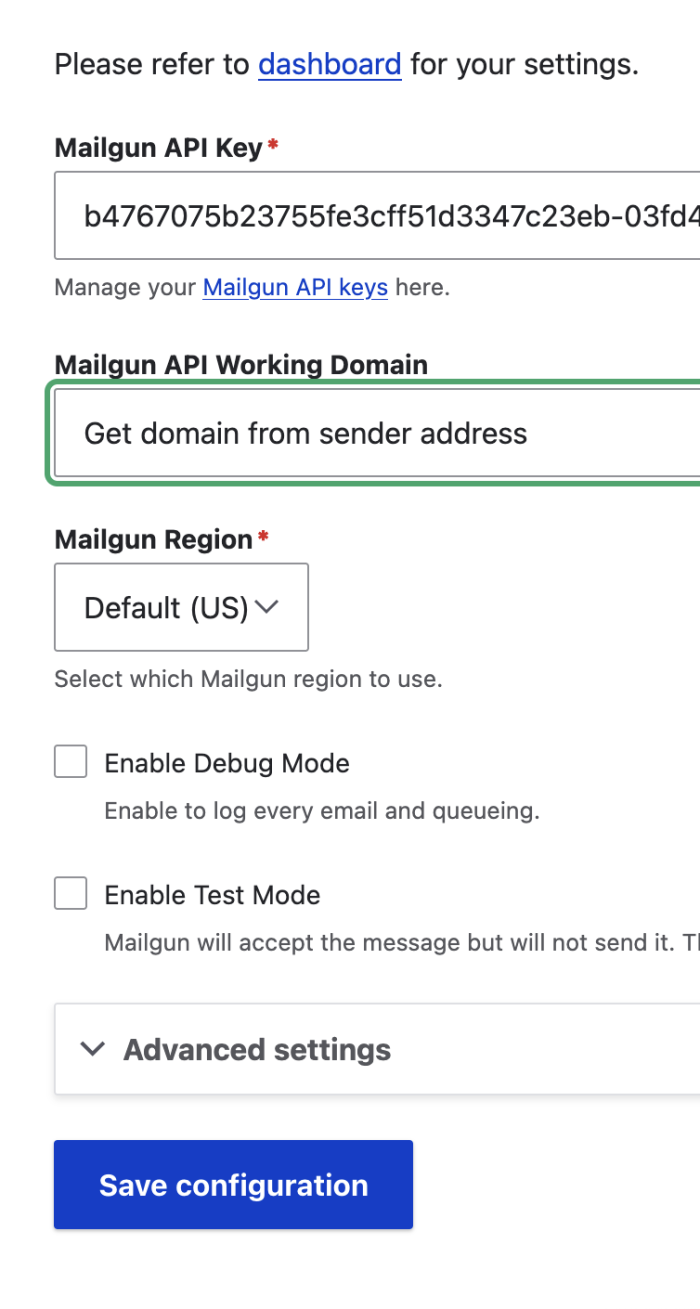
⚠️ Important: The API key is stored in your Drupal config, so don’t push this to a public repo. There’s an open issue requesting support for the Key module—this needs an MR, so feel free to jump in if you’re looking for an easy contribution opportunity!
Step 4: Update Mail System Settings
After saving the Mailgun settings, I thought I was ready to test… but Mailgun Maintainers reminded me to set Mailgun as the default mail system.
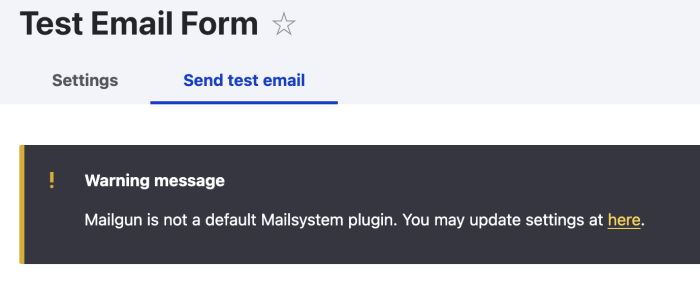
No problem—the module includes a helpful link right to the settings page. I switched the default sender to Mailgun, saved, and now I was truly ready.

Step 5: Fire Off a Test Email
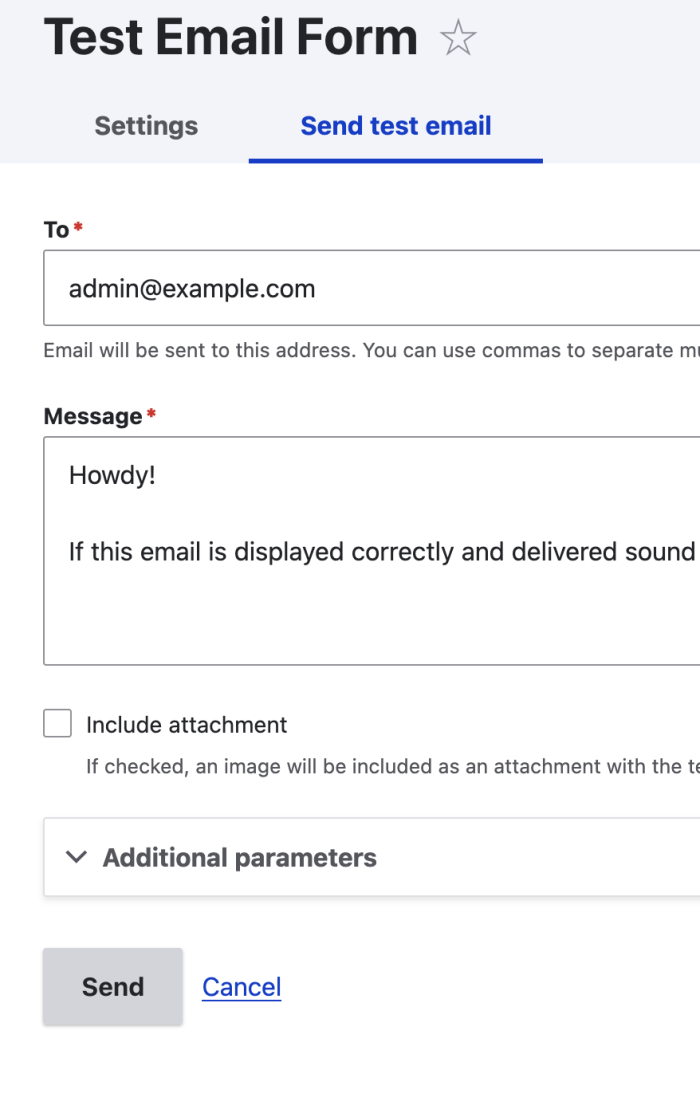
Back in the Mailgun module settings, there’s a built-in test email feature. I sent myself a message—and sure enough, it arrived with the subject:
"Mailgun works!"
Success!
Final Steps
With everything working locally, I exported my config, committed the changes, and pushed them to production. I won’t bore you with deployment details—but everything went smoothly.
If you’re running a Drupal site and looking for a reliable transactional email service, Mailgun is definitely worth a look.
Thanks for reading!